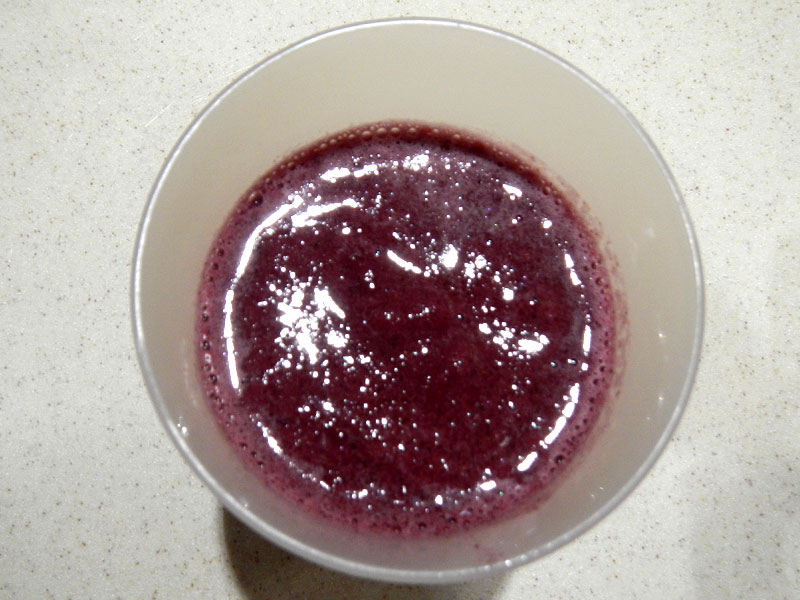
I’m sorry, there really aren’t any measurements. I was so excited to try out the new Vitamix that I didn’t write anything down.
Banana Pear Smoothie Servings
2
Equipment Required Vitamix Ingredients 2 bananas, frozen 1 Asian pear, cut in quarters, stem and seeds removed ice water Ocean Spray 100% Juice Cranberry Raspberry
The Kitchen Angel must have heard my plea last Friday! (See my post about Chocolate Raspberry Pie !) This has appeared in my kitchen.
I received a brand new Vitamix 6300 with a 64 oz container! It came from Costco. Vitamix is doing demos of this new model in Costco Stores around the country. The savings is significant when purchased at the demo.
I am SOOOO happy! I’ll probably be doing the happy dance for days.
Note: The subtitle for this one should be “Why I need a Vitamix! ”
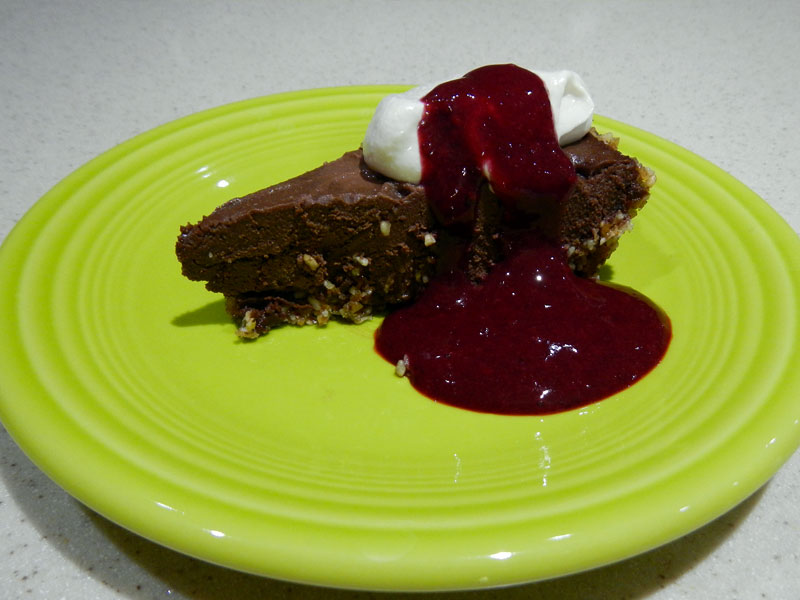
The combination of chocolate and raspberry is one of my all-time favorites. I love the sweet, tartness raspberries add to the chocolate. This is a dark, rich chocolate ganache, combined with a cranberry/raspberry juice, done vegan. Instead of the dairy cream used in a traditional ganache, we’re using cashew creme.
The crust is the Basic Nut Crust recipe that I published yesterday.
This is a basic, no bake, nut and grain crust for no bake pies. It’s easy to make, and easy to alter depending on the flavors you like and any allergies you may have.
Here’s the setup for the one I’m making today.
Equipment Food Processor
9-inch pie plate
Ingredients See the recipe below for the ingredients.
Method Put the dates and the almonds in the food processor.
Pulse a couple of times to begin chopping them up.
I recently got twenty pounds of California ripe tomatoes as an addition to my regular Bountiful Baskets. That sounds like a lot, doesn’t it? Well, it looks like this:
See, not quite as much as you thought it would be! These were ripe, meaty and delicious!
I love tomatoes. They are really good for you, high in lycopene, a powerful antioxidant! They also contain vitamin C (when eaten raw) and potassium.
What is your family’s reaction when these show up at your house?
I bet I can guess!
“Yuck!”
“I’m not eating THAT!”
“I HATE those!”
Not at our house! When these show up in my Bountiful Baskets I jump for joy. I’m so happy when the time of year arrives that these are available!
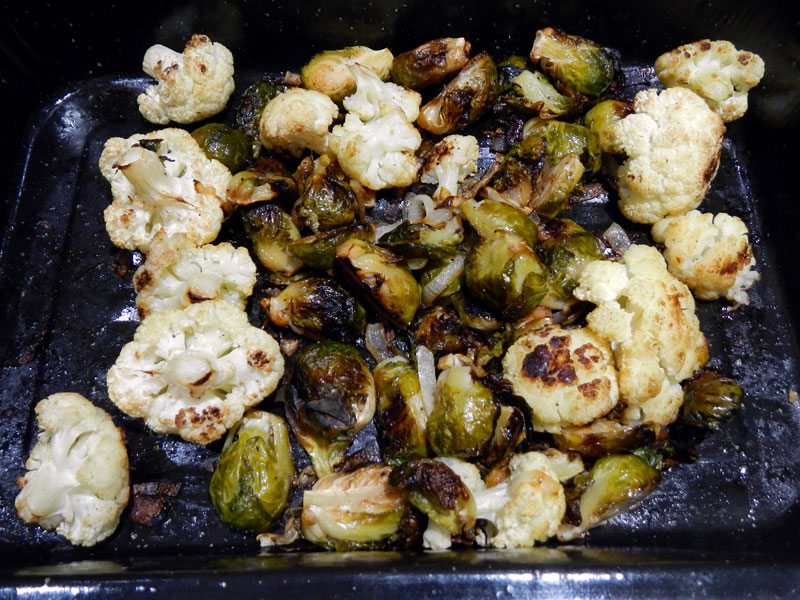
This didn’t used to be the case. I had a friend one time that often used the phrase, “Take (food of your choice) and ruin it by (method of your choice).” Well, here it is for this food: “Take Brussels sprouts and ruin them by boiling them to death!” Yuck! I used to eat them, because the only food I absolutely refuse to eat is Lima Beans, but they were far and away one of my least favorites.
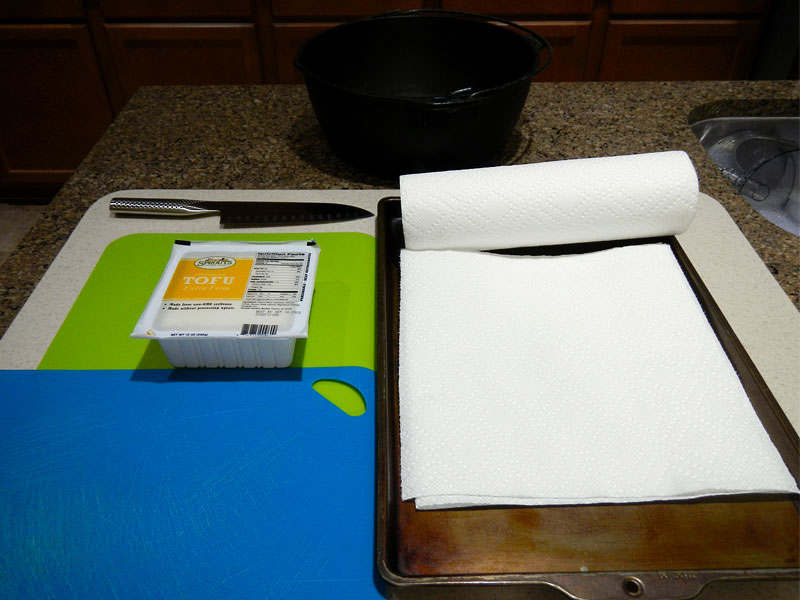
By now you’ve seen tofu pop up a few times in my recipes. I thought you might like to know a bit more about it, and why it’s used so much for a vast array of things in the vegan foodie world.
For starters, tofu is made from soybeans. First the dried soybeans are processed into soy milk. Then a salt or acid-based coagulant is stirred into the milk, causing it to form curds from the protein. The curds are separated from the whey and then pressed into a mold. The resulting product is tofu, sometimes also called bean curd. It is a relatively high protein source, low in fat and a good substitute for meat or dairy in many dishes.
I love tzatziki! We used to eat at Greek restraunts all the time. I would always make sure what I ordered came with it, or I would order it on the side. One of our old favorites was Pita Jungle, where we would often get the Mediterranean Platter. However, now we don’t go there now. Half of this platter contains 1810 mg of sodium! If you ate the whole thing yourself, you would end up consuming 1240 calories and a whopping 3620 mg of sodium. WOW!
There are very few people who are great cooks from birth. Everyone learns along the way. And most cooks, and even the great chefs have tools which got them to where they are now.
A very important category of tools is: Cook Books!
I happen to have two favorites. The first is a 30-year old copy of Joy of Cooking. As far as I’m concerned, no kitchen should be without a copy of this classic. It covers everything from how to set a table properly, to how to cook almost anything.
Since I am now vegan (except for some fish) and gluten-free, people ask me all the time what I eat for breakfast. Well, the most truthful answer is: Whatever I want!
For example, on Sunday I had chile relleno. DH usually makes breakfast on Sunday. This week he stuffed grilled Poblano chiles with a brown and wild rice mixture, sauteed onions, roasted corn, pepitas, sunflower seeds, and some “test” vegan cheese I made that was a bit like Parmesan. It was served with a little Daiya pepper jack cheese and some tomatillo salsa on top. It was yummy!
We love tacos. So do most of our relatives. Being a vegan, though, presented me with a problem making a filling that gave the same flavor profile, texture and mouth feel as a ground meat filling.
Then we attended the Nourish Restaurant and the Gluten Free Foodie Tour, and found a very nice taco filling! This recipe is my version. It’s been wildly popular around here. We’ve eaten it in traditional tacos, but DH likes it best in a taco salad.
Note: This is a long, image heavy post. Since it is the first ice cream recipe I’ve posted, I wanted to make sure you have step-by-step images of the whole process.
I love ice cream! Before I changed my eating habits, my favorite was Bryer’s All Natural Mint Chip. Now that I no longer eat dairy products, I wanted to make an ice cream that had the same texture and flavor, but it had to be healthy. Here is what works for me, along with notes on how to adjust your version to suit your taste.
I’ve been trying to figure out how to make a healthy, crunchy snack-type food in the dehydrator for several weeks now. One of the biggest problems I’ve had is spreading out my mixtures on the ParaFlexx sheets. I’ve just had no end of sticky messes. I’ve tried everything from spatulas to rolling pins to get everything even so it dries properly. My mixtures have (mostly) tasted good, but the texture has been a bit weird, drying uneven, and sometimes just too dense and chewy because of the thickness or ingredients.
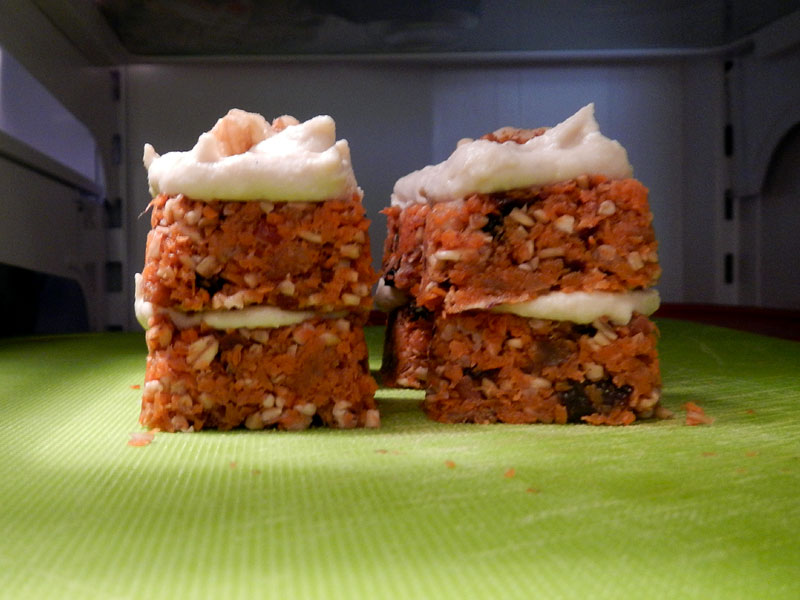
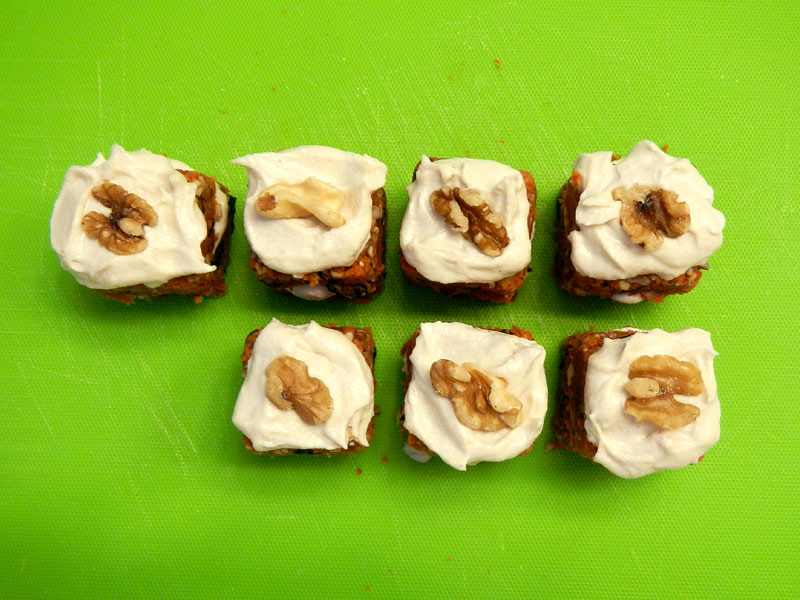
I love carrot cake! I used to always ask for it on my birthday and special occasions. I wanted to capture the same flavors, but in a healthier version. This is a vegan, raw carrot cake.
You will be starting with the cake bites in the mold.
Place a silicone cutting board over the mold. Turn everything over and tap on counter a couple of times. Squares should fall out of the mold. Lift up the mold carefully. These are delicate. If they come apart, you can use a couple of small spatulas to reform them.
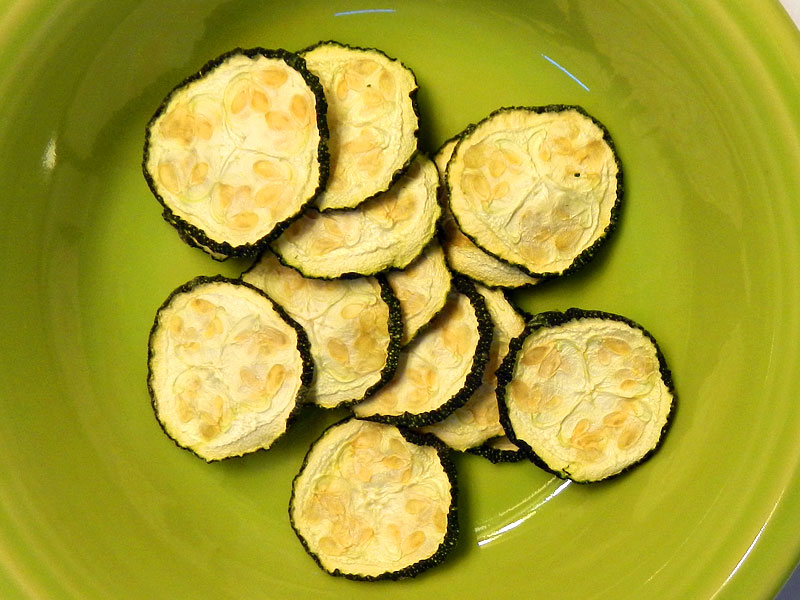
I like to start the day by loading up the dehydrator. That way, it has plenty of time to run before any afternoon storms. Today I made Zucchini Chips. These were quick and easy to prep, since all you have to do is wash the zukes and then slice them about 1⁄4 inch thick. I dry them at 125 degrees until they are dry and crispy. They keep a long time in the pantry. This is the time of year that zucchini is on sale, so I like to make a lot of these so I have them in the fall.
A delicious black bean and corn salad. This is quick and easy, and you can make a bunch because it will keep in the refrigerator for several days. It can be eaten as a main course, or used as a side dish. It also works well as a relish on tacos.
Black Bean and Corn Salad Ingredients black beans, cooked and well drained
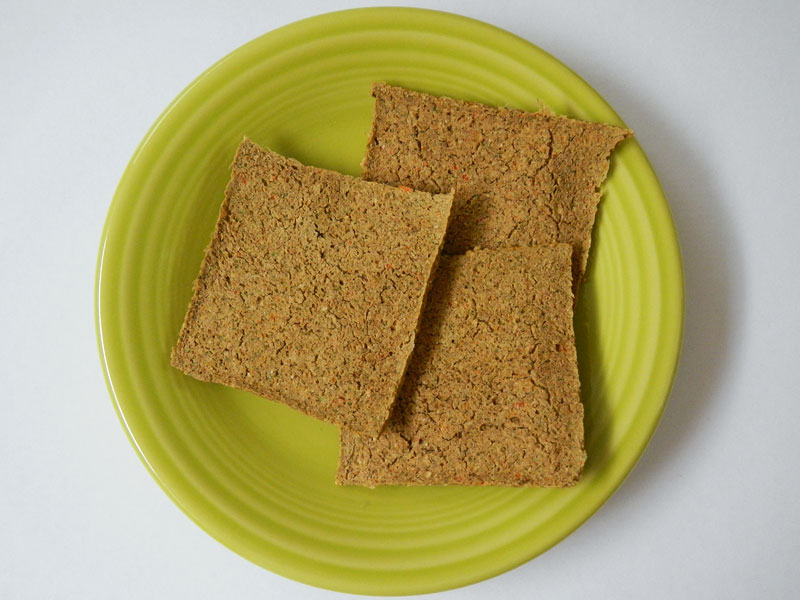
Because we eat a lot of hummus here, we are always looking for something crunchy to go with it. There are plenty of tasty chips and crackers on the market, but they all contain a fair amount of sodium. So my goal was to attempt making crackers in my dehydrator.
This was my first attempt at making crackers. I did have a bit of a problem getting it spread evenly on the sheets, so a few of my crackers were a bit thin in the middle. I think next time, I will make individual crackers and see how that works out.
These are quick refrigerator pickles, so DH has dubbed them “Quickles”. They can be made with any combination of fresh vegetables you like. They are a really healthy snack, and will add the vinegar and dill flavor to main meals, such as the Southwest Veggie Burger ! They don’t really need any salt in the mixture if you use some Balsamic vinegar.
From the left, the vegetable mixtures in the picture are:
This cheese cake was a total “invention” from start to finish… and it was a total success! I wanted to make a no-bake cheesecake, and use chia to thicken it. I made it in a mini pie pan (in case it was a disaster) and it’s a good thing I didn’t make it bigger… we probably would have eaten the whole thing. It was THAT good!
Cheesecake Ingredients 1 tablespoon lemon juice, fresh squeezed
