Note: This is a long, image heavy post. Since it is the first ice cream recipe I’ve posted, I wanted to make sure you have step-by-step images of the whole process.
I love ice cream! Before I changed my eating habits, my favorite was Bryer’s All Natural Mint Chip. Now that I no longer eat dairy products, I wanted to make an ice cream that had the same texture and flavor, but it had to be healthy. Here is what works for me, along with notes on how to adjust your version to suit your taste.
I’ve included lots of pictures in this post so you can see the entire process, as if you were in my kitchen helping me make it. See the recipe below.

The finished ice cream looks like this. We think it’s delicious. The first time DH ate some, his comment was, “You’ve got ice cream figured out perfectly!” Lol!
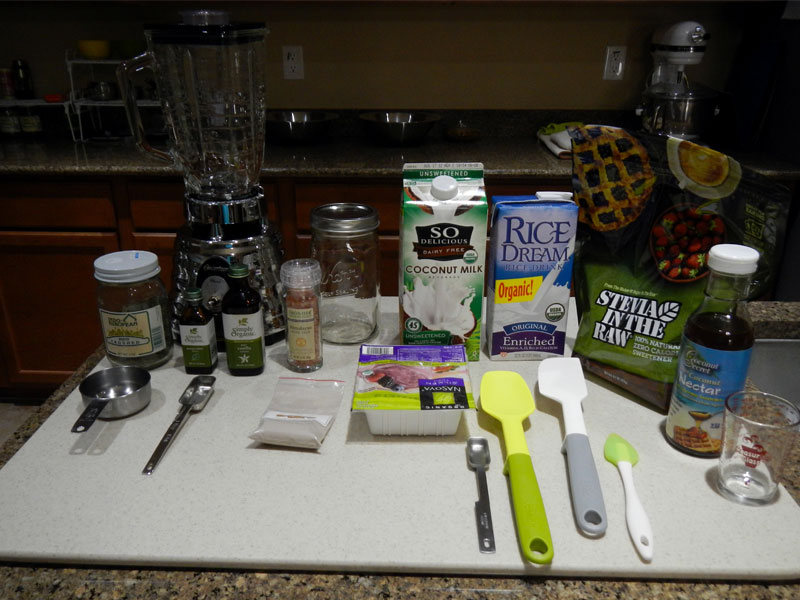
Here is a picture of my set-up, without the cashews. (I forgot them when I was setting up.)
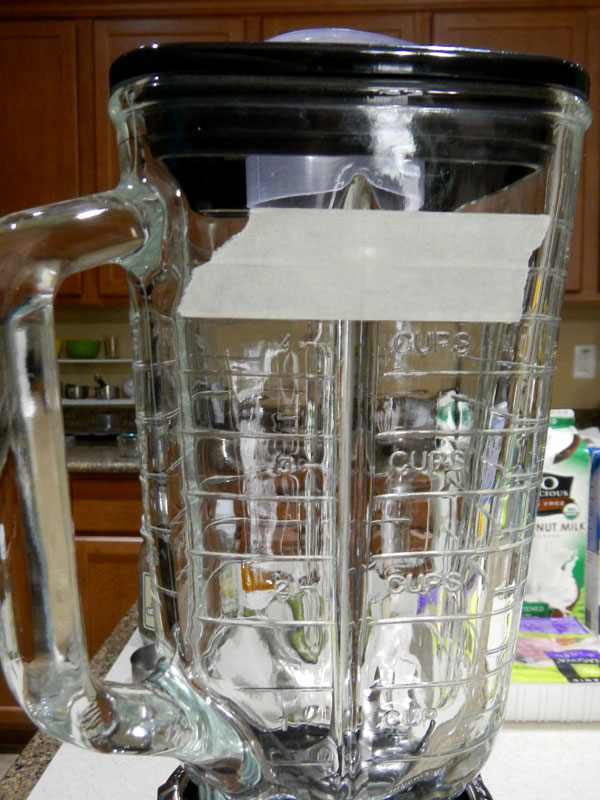
Before you begin, fill up the canning jar to where the neck starts with water. Put the water in the blender jar. Stick a piece of masking tape on the jar at the top of the water line. This is so that you know that you are making that amount of mix. If I don’t mark mine with tape, I tend to make too much for the ice cream maker!
The reason you are soaking the cashews is so that when they are blended, they produce a creamy substance. The nuts will become soft, and puree very nicely.
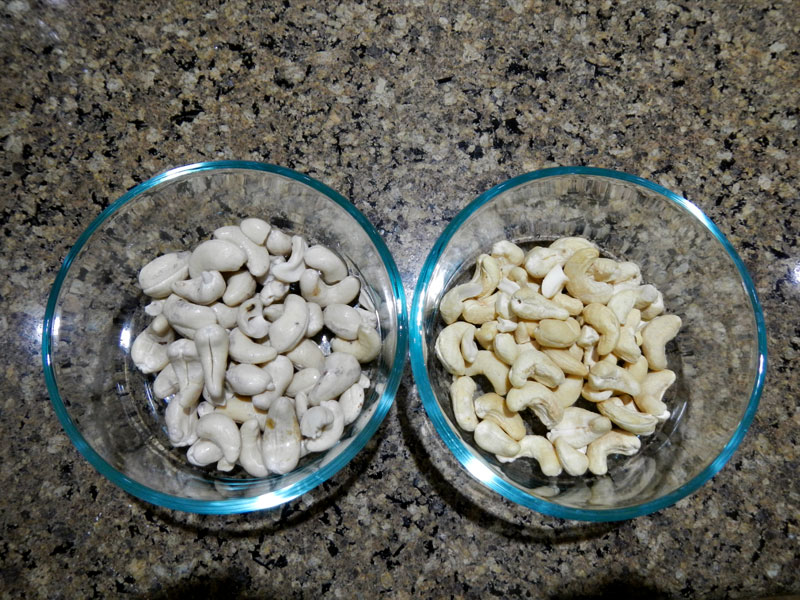
Soaked nuts are on left, dry on the right.
Put the cashews and the rice milk in the blender. Pulse until the cashews stop splashing around, then run the blender until they are thoroughly blended with the milk, with no chunks.
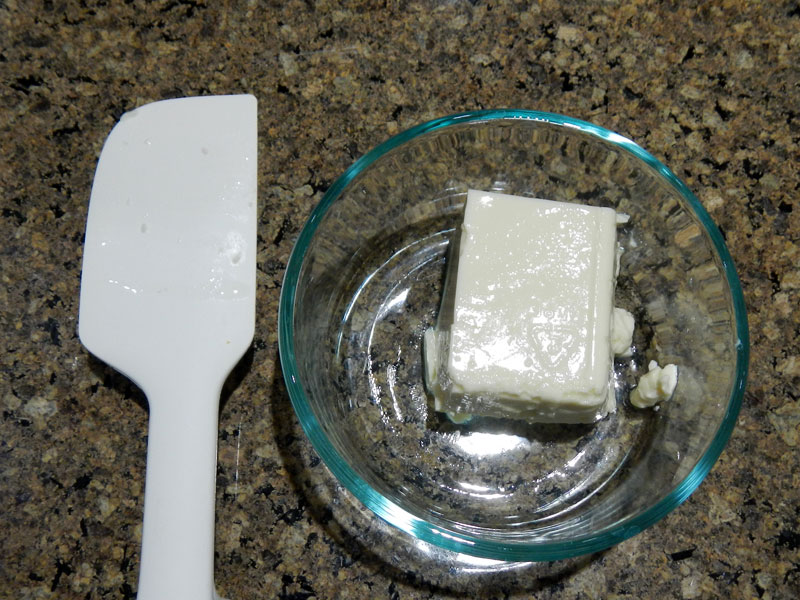
Four ounces of tofu is 1⁄4 of a normal (1 pound) package. Silken tofu works really well for this because it is already very soft and creamy. It’s easy to blend into the mixture.
Add the tofu and blend until everything is smooth. It will now have the texture of thick cream. (You could actually use this as a cream substitute in other recipes!) It should look very much like this.
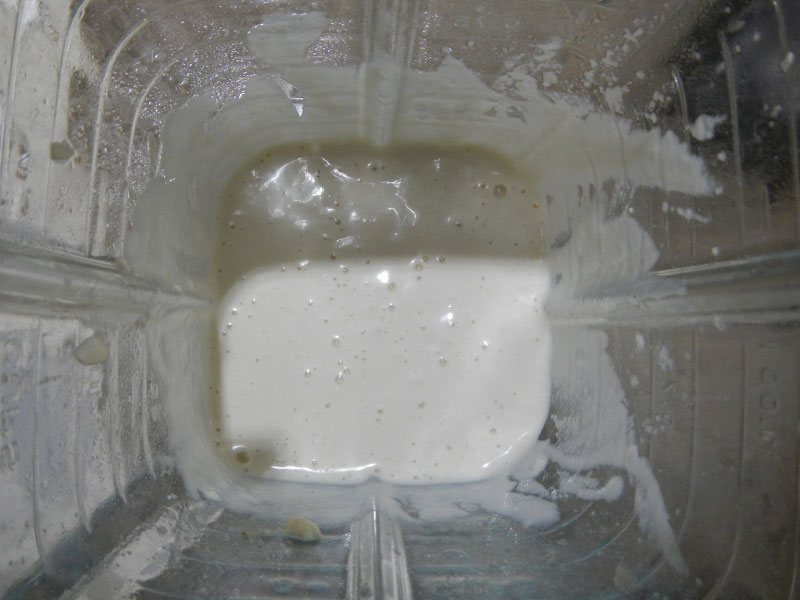
Now that the cream is finished, you can add all the flavorings, the extracts, mint leaves and salt.
In all honesty, fresh mint is better than dried. It will make the base a nicer color (not that it matters a lot, you will see in a bit.) It also has better flavor. If you decide to use it, make sure it is not spearmint or wintergreen! They aren’t the same flavor! You want to add peppermint. You will need to increase the amount by at least 2, and as much as 4 times when using fresh.
You may also want a different brand of mint extract than the one I used. It’s ok, but not great. I haven’t found a favorite brand of this yet
The little bit of vanilla is important. It sweetens up the mint, making it less harsh.
Don’t leave out the salt. Almost all ice cream flavors need a tiny bit of salt. It perks up all of the flavors and is most important in a fruit base because it will taste flat without it!
Put it all in and blend until it looks like this.
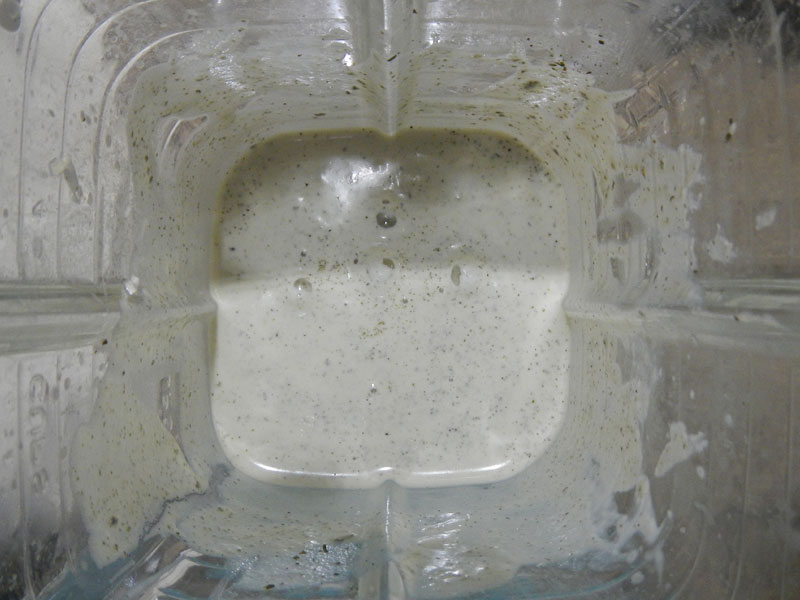
Now for a trick for those of you who are really concerned about color. If you want the ice cream to be pale green, and you have used the dried mint, you can throw in a few baby spinach leaves. Yep, that’s right… spinach. It will add more pale green to the mix, and you won’t be able to taste it. Really!
I’ve added two leaves here, so you can see a bit of the color change.
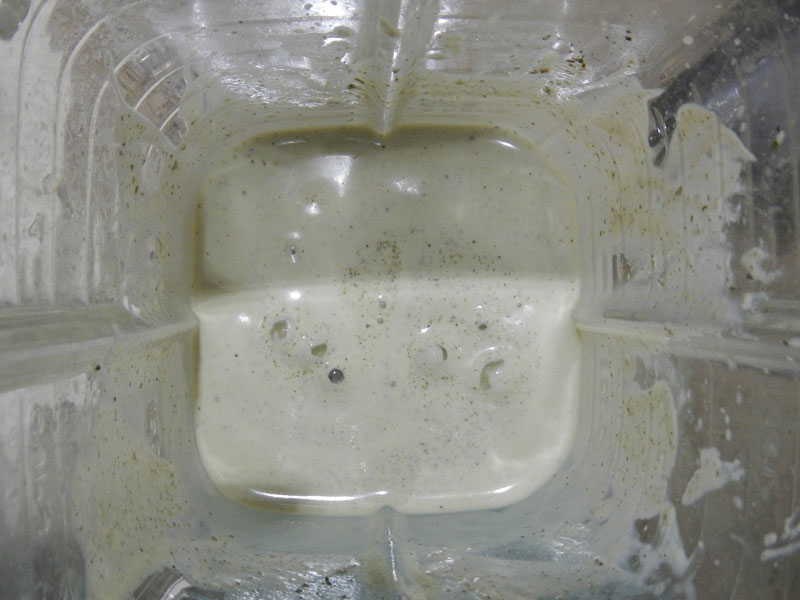
It’s subtle here, because only two small leaves were added. If you do it, add two at a time until you’re happy.
Now you’re going to see why color isn’t critical. Add in the stevia and the coconut syrup and pulse until incorporated.
If you look at the list of ingredients on a carton of commercial ice cream, you may very well see carrageen (or an alternative spelling) listed. It is actually made from Irish moss. It is used in various products as a thickener. It will gel without cooking and at room temperature!
In commercial ice creams, it is processed into a very light color, or white substance. I am using a raw, dried version in this recipe. Because it still has all of the beneficial vitamins and minerals in it, it is a tan or light brown color. The down side is that the color will affect the end color of the ice cream. That’s fine with me. My rule is that if I’m going to eat it, I want it to give my body the most nutrition possible. This is what I used.
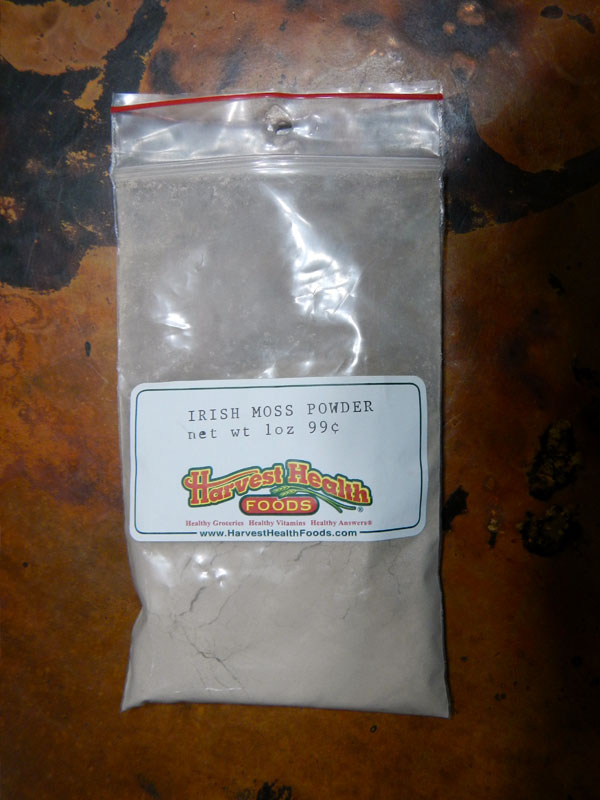
If the color bothers you, you can probably purchase it in a refined form from a place that sells products for molecular gastronomy. You may have to adjust the amounts if you are using a different product.
You can also make it with truly raw, just picked up off the beach, sun dried Irish moss. It’s a lot more work to get the moss ready, though. If you’re starting with truly raw, you will, again, need to adjust the amounts used.
Add in the Irish moss powder and pulse a few times. Scrape down the sides and blend until smooth. I’ve stuck in the spatula in the image below to help you gauge the desired thickness.
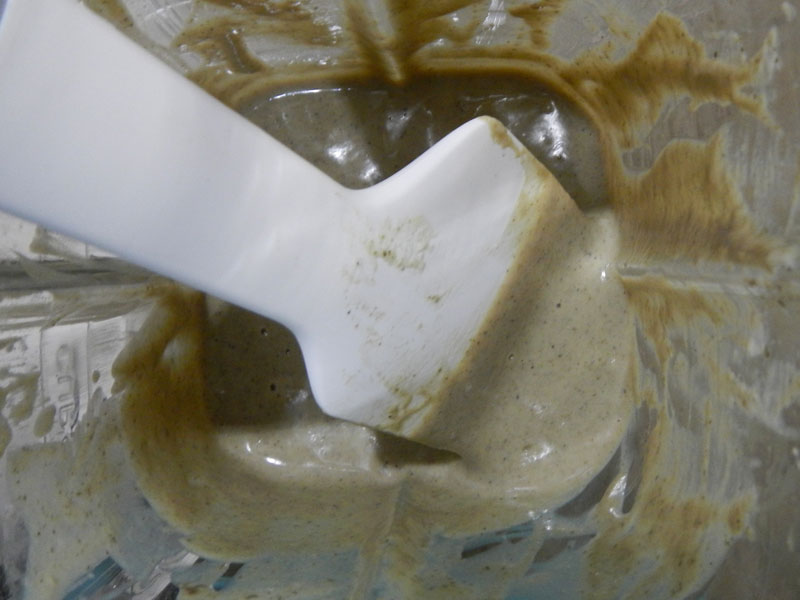
Don’t worry. The ice cream won’t be this dark tan when it’s done. You’re going to add the coconut milk and that will lighten it.
Add the coconut milk to the line below the tape. Don’t go all the way to the tape! I didn’t give you an exact measurement for the milk because it can vary depending on the flavor of ice cream you are making and the thickness of the previous additions.
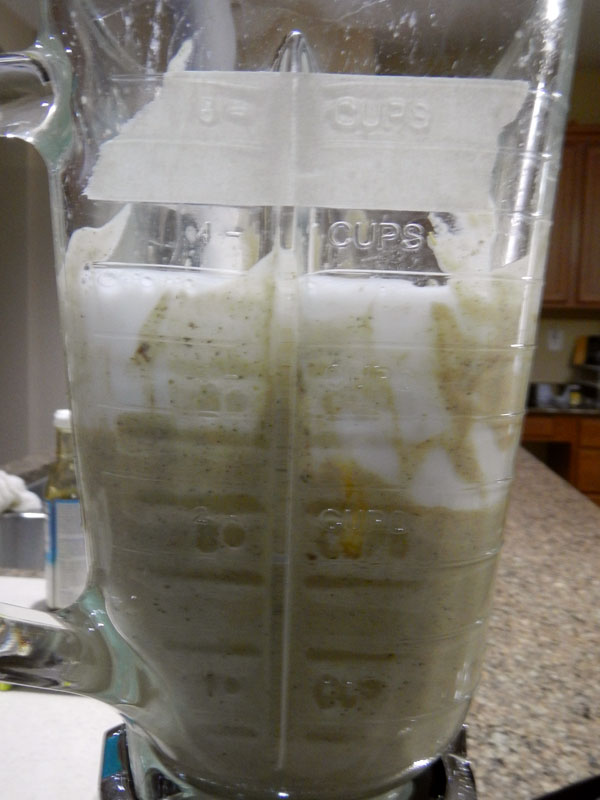
The reason you are leaving room is in case you need to adjust the thickness or the flavorings. You may have to add more of something, and this way, you won’t over flow the canning jar. Blend until everything is an even color.
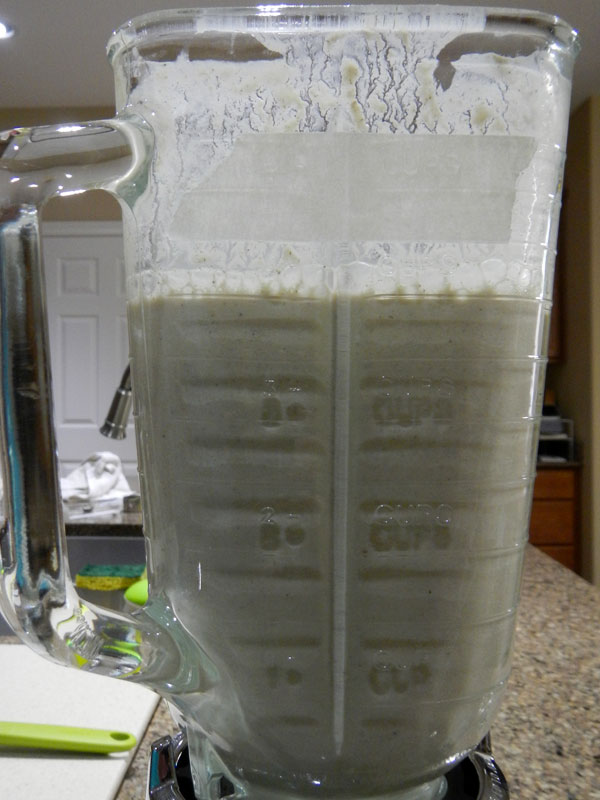
Taste the mix. You should have a strong mint flavor. It should be almost too sweet. Here’s the deal: frozen things have a less intense impact on our taste. You can’t smell something frozen, so the flavors need to be a bit stronger to make up for it.
When you are happy with the taste, add more milk to the blender to take the volume to a smidgen below the tape. Blend until mixed. Pour the mixture into the jar.
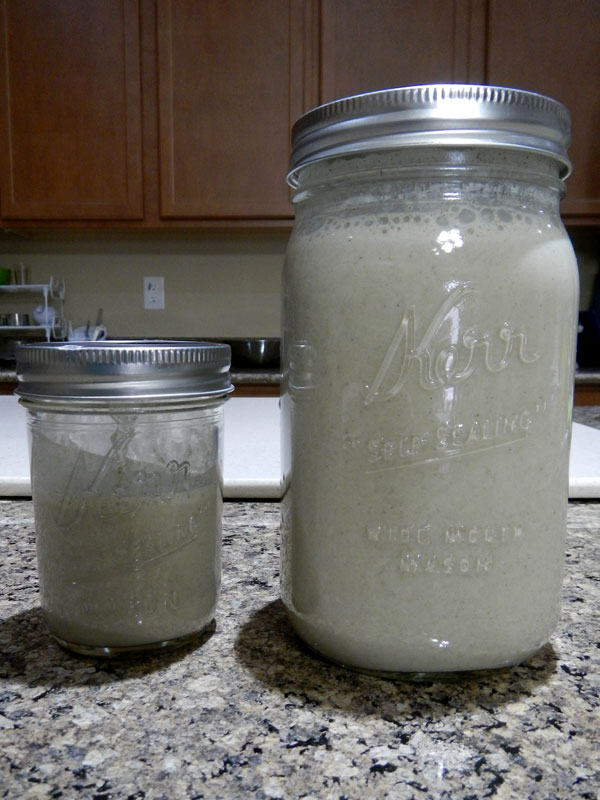
The image is a good example of why you use the water/jar method to put the tape on the blender jar. I didn’t do that. Four cups is a quart, right? Well, first of all, the jar actually held a little bit less because I filled it only to the beginning of the neck. You need to leave enough room to shake it up again later. Secondly, if you look close at the blender jar pictures, you’ll notice actually put the tape in the wrong place! That’s why you see two jars in the image above!
It’s all good, though, since I also have Popsicle molds! The extra will go in those, and I will coat the outside of the Popsicles with a chocolate shell coating when they are frozen. Yum!
Now you will need some patience. The base needs to be as cold as possible when it goes into the ice cream maker. Put the jar of base in the coldest part of your refrigerator for a minimum of two hours. I normally make my mixes early in the morning and then actually make the ice cream after dinner.
A while later…
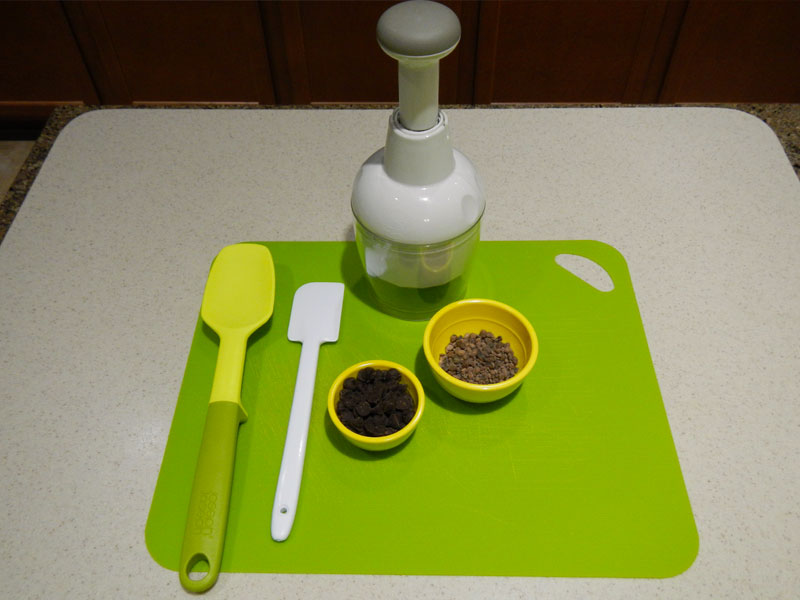
In addition to the ice cream maker, you will need a plastic gel mat that doesn’t slide around on your counter. It is used to set the frozen canister on while stirring in additions to the frozen mixture. It keeps the canister from running away on you. You will also need a stiff plastic scraper. It’s important that you don’t scratch the inside of the canister. Use only plastic or silicone in it! On the other hand, it has to be stiff enough to handle frozen ice cream. The green one is for scooping the ice cream out into a freezer container.
In case you didn’t notice, so far, there is no actual chocolate in our ice cream. Not to worry. The chocolate is in the form of chips, chunks or nibs, whatever your preference is. It is stirred in by hand, after the mix is churned and frozen.
I prefer raw, sweetened cacao nibs as my chocolate chips. The brand I use is Navitas Naturals .
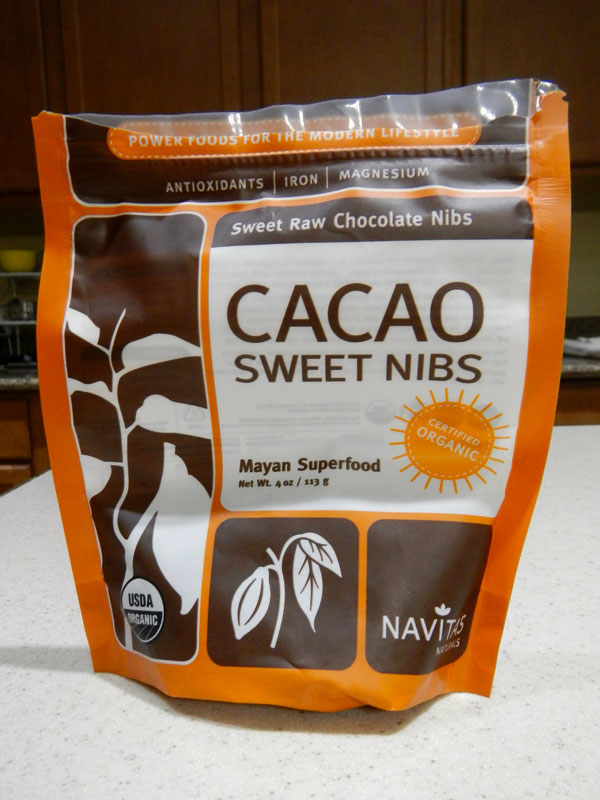
I also happened to have some Hershey’s Dark Chocolate Chips in the refrigerator that I want to use up. They aren’t vegan. They have milk in them. I don’t want to throw them out, so I used them. They will (from now on) be replaced with the Navitas.
I used 1⁄4 cup Hershey’s chips and 1⁄4 cup nibs.
Because the chips are quite a bit bigger than the nibs, I decided to chop them up a bit, using the chopper in the set up picture. This is how much I chopped them.
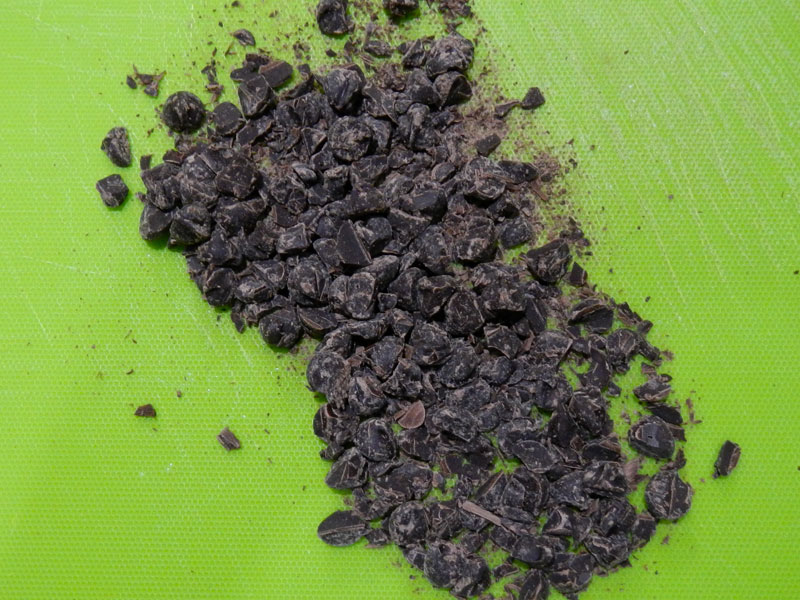
Set these aside until the ice cream is done churning.
Take the mix out of the refrigerator. Don’t freak out if it looks like this.
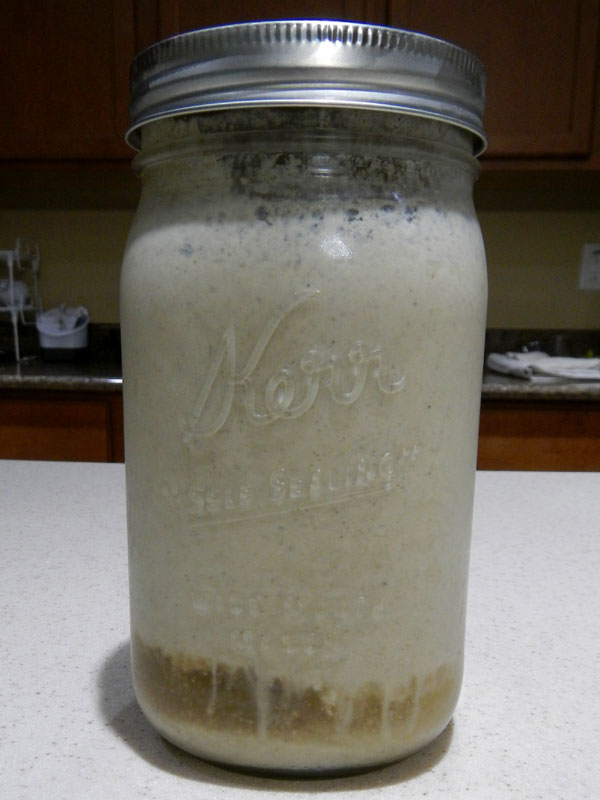
Depending on what’s in the mix, it can separate while in the refrigerator. That’s why you leave room to shake it up. Make sure the top is on tight, then shake it well.
Assemble your ice cream maker and turn it on. Always turn on the ice cream maker before adding mix to it! Otherwise, the mix will freeze right to the sides of the canister immediately and the dasher won’t turn properly.
Pour the mix in the top. When you first start, it will look like this while running.
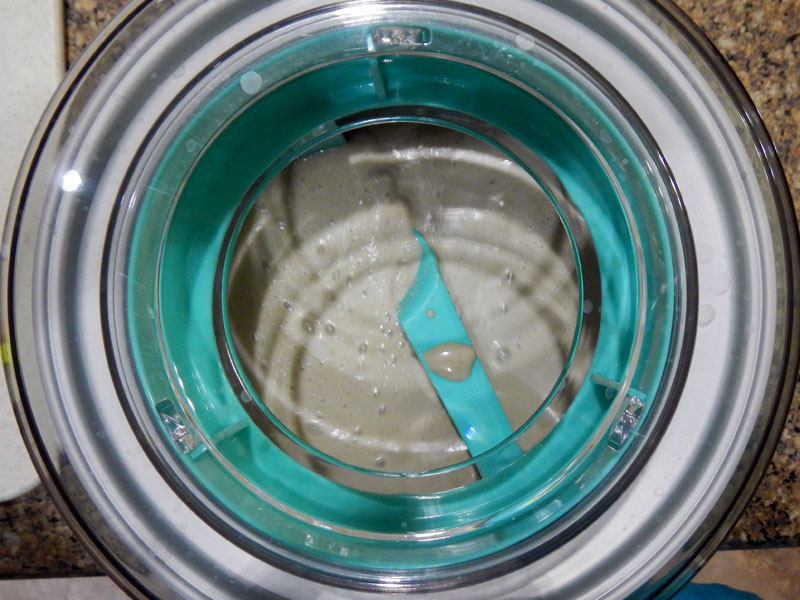
After 5 minutes it will start to thicken up and look like this.
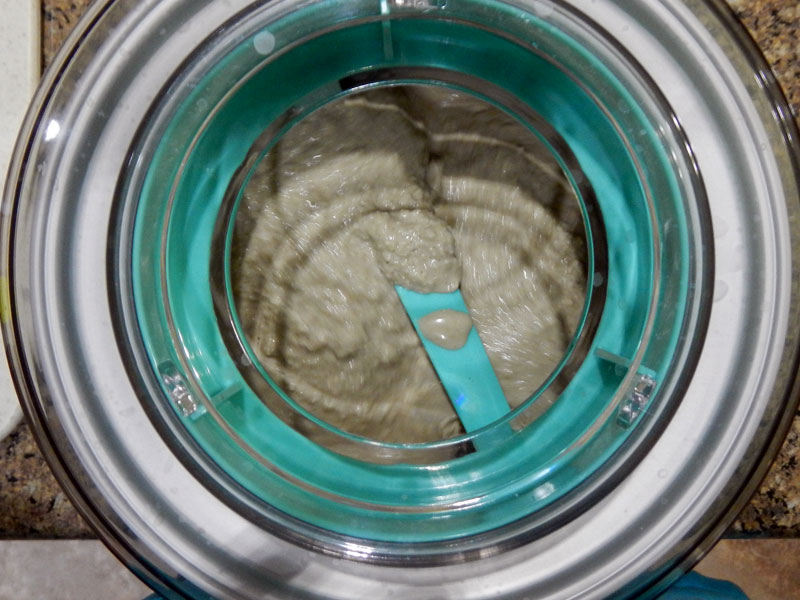
After 10 minutes, it should be quite thick, start piling up on the dasher quite a bit and look like this.
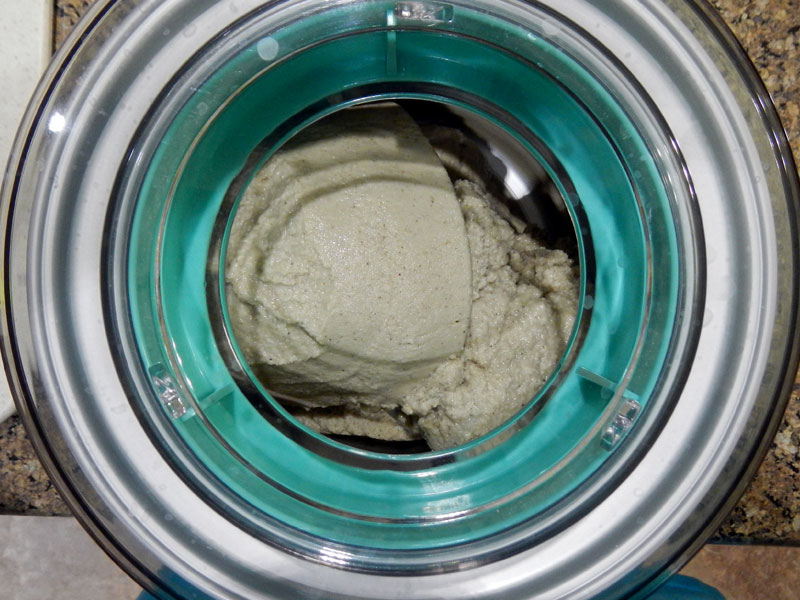
At this point, I usually help it out a little bit using the white spatula you saw earlier. If you insert a tool into the ice cream maker while the canister is turning, be very careful! You can get it caught in there and damage the dasher! I just kind of scrape it off the top and plop it back in the empty holes.
Mine was done after 15 minutes. It’s done when it just doesn’t move around any more and is crawling out the top.
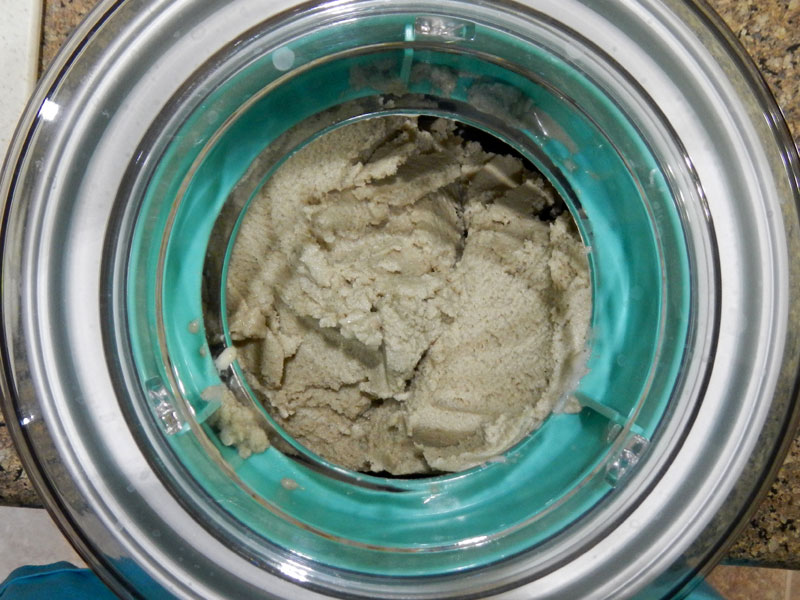
The amount of time it will take depends on the thickness of the mix and the temperature of the canister when you started. I keep mine in my stand alone freezer which is much colder than the one attached to the refrigerator. So start to finish for me is normally about 15 minutes.
Turn off the ice cream maker. Put the canister on the gel mat and remove the dasher. This is messy, you will need to scrape frozen mix off the dasher back into the canister. I use that white spatula for this. Then I hand the dasher to my assistant to lick off. Lol!
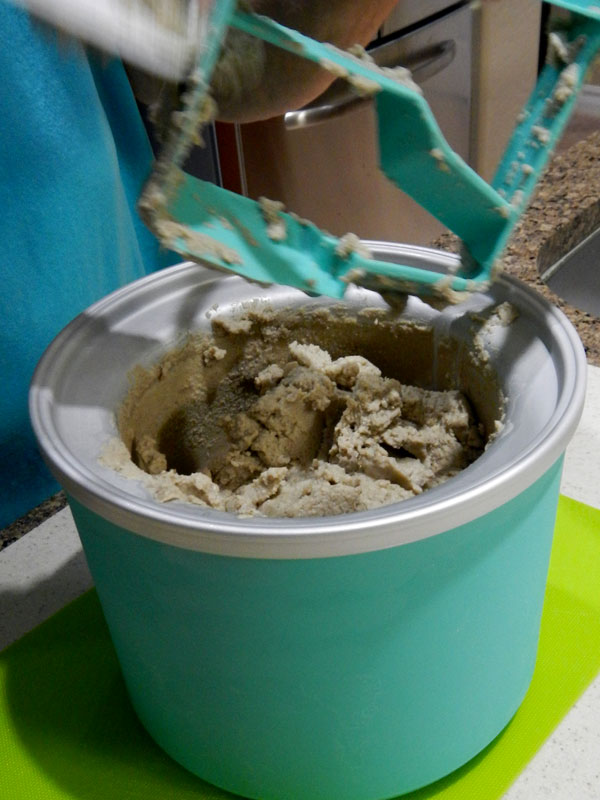
Once it is all in the canister, it should look similar to this.
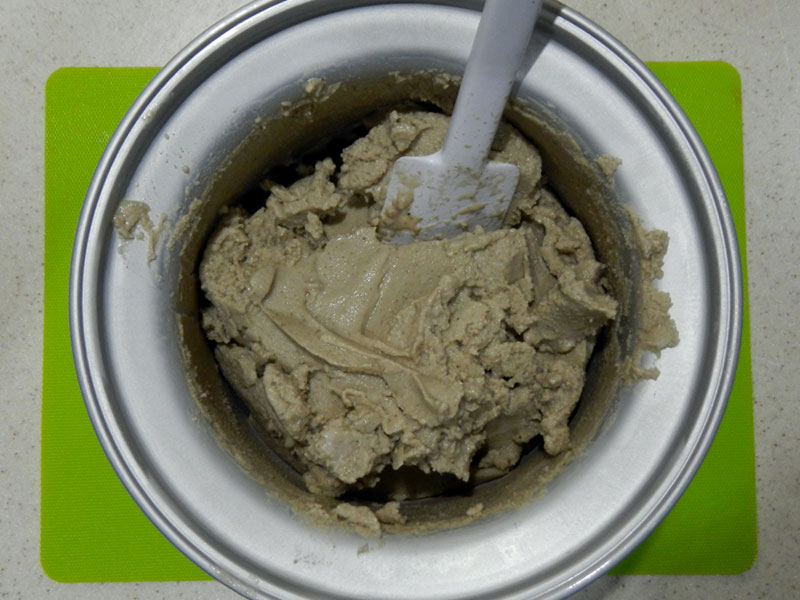
Dump the chocolate additions on top and stir in.
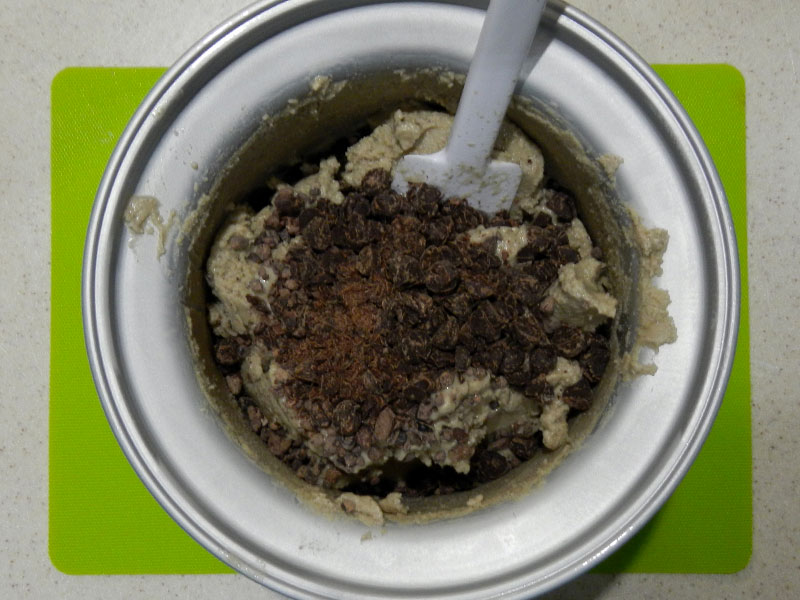
I usually have DH do the stirring. He is stronger and his arm doesn’t get as tired as mine.
When everything is thoroughly incorporated, you have two choices. You can eat it at this stage. Or, if you want it frozen harder, you can put it in a container in the freezer for about 30 minutes. Do not put it in the freezer in the gel canister! Never, never do that! You won’t be able to get it back out without defrosting the canister completely. Always put it in a different container.
In all honesty, we always eat some without putting it in the freezer. The rest, we do freeze until the next time we want it. You can either freeze it in individual servings, or all in one.
When you want to eat previously made, frozen solid ice cream, take it out and put it in the refrigerator for 20 minutes or so. It will soften up enough to handle. All home made ice cream freezes much harder than commercial, no matter if it is vegan or not. The only exception is ones with alcohol in them, which usually never freeze. The alcohol prevents it. So you can “temper” it in the refrigerator for a while so it’s softer, but not melted.
We loved this, and it was perfect for both of us, given what we were trying to reproduce at home. I would like to find a different peppermint extract, though. I’m not crazy about this one.
Don’t be afraid to experiment with homemade ice cream. In all my trials, I only made one batch (so far) that I considered inedible. And other people might have liked it. I made chocolate ice cream with carob powder instead of coco. Turns out, I really, really don’t like carob!
I’ve had some minor flubs along the way with texture and sweetness, but all the rest were edible and disappeared!
Enjoy!

Equipment Required
Ingredients1⁄2 cup cashews, raw, soaked for 6 hours, well drained 1⁄2 cup rice milk, unsweetened, organic 4 oz silken tofu 1-1⁄2 teaspoons peppermint extract 1⁄4 teaspoon vanilla extract 3 teaspoons mint leaves, dried (or the equivalent taste value in fresh leaves) pinch pink Himalayan salt 2 tablespoons baker's stevia 3 tablespoons coconut nectar 2-1⁄2 teaspoons raw Irish moss powder coconut milk, unsweetened, organic 1⁄2 cup chocolate chips, chunks or nibs |
DirectionsFill up the canning jar to where the neck starts with water. Put the water in the blender jar. Stick a piece of masking tape on the jar at the top of the water line. This is so that you know that you are making that amount of mix. Discard the water. Put the cashews and the rice milk in the blender. Pulse until the cashews stop splashing around, then run the blender until they are thoroughly blended with the milk, with no chunks. Add the tofu and blend until everything is smooth. It will now have the texture of thick cream. Add all the flavorings, the extracts, mint leaves and salt. Add in the stevia and the coconut syrup and pulse until incorporated. Add in the Irish moss powder and pulse a few times. Scrape down the sides and blend until smooth. Add the coconut milk to the line below the tape. Don’t go all the way to the tape! Taste the mix. You should have a strong mint flavor. It should be almost too sweet. When you are happy with the taste, add more milk to the blender to take the volume to a smidgen below the tape. Blend until mixed. Pour the mixture into the jar. Put the jar of base in the coldest part of your refrigerator for a minimum of two hours. Take the mix out of the refrigerator. Depending on what’s in the mix, it can separate while in the refrigerator. Make sure the top is on tight, then shake it well. Assemble your ice cream maker and turn it on. Always turn on the ice cream maker before adding mix to it! Otherwise, the mix will freeze right to the sides of the canister immediately and the dasher won’t turn properly. Pour the mix in the top. Run for abt 15 minutes, until the ice cream is the desired consistency. The amount of time it will take depends on the thickness of the mix and the temperature of the canister when you started. Add the chocolate and stir. Move the ice cream to a different container and put it in the freezer. NotesFollow the manufacturer’s instructions for your ice cream maker. I am using one that has a gel canister that goes in the freezer. Make sure your canister has been in the freezer at least 24 hours before using. It must be thoroughly frozen. Chocolate has caffeine in it. If you are sensitive, don’t eat this late at night or use a substitution. Raw peppermint can have a laxative, or other effects, particularly if you are pregnant. Use caution if you are sensitive because there is more than average in this recipe. If you want a thicker, creamier base, more like an egg custard, you can increase the amount of tofu up to 8 ounces. You may need to add a bit more milk when blending with the cashews and a bit less when filling at the end. You can add more Irish moss to make it thicker. (You can actually make pudding with it, and skip the freezing!) You can use all coconut syrup if you wish, but remember – it is very sweet. Measure it more like agave syrup than sugar. Any vegan milk will work. I happen to like this combination better than soy milk. Just make sure to get unsweetened, and unflavored. (Some are vanilla flavored, which will change the flavor of the ice cream.) If you use a better peppermint extract, you will probably be using less. You can add a lot less, and then adjust it towards the end to be safe. |
Images


